Step 1: Login to your Account
Login to your account. If you don’t have an account you can sign up for a 5 day free trial here.
You are now in the Control Panel, from here you can Control all your servers, create new servers, drives, VLAN’s and more.
Step 2: Add a New Server
You will now add a New Windows 2012 R2 Server using one of our Pre-Installed images.
Click the “Add” button.
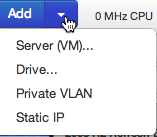
Select Server (VM)…
You are now on the Add New Server Dialog
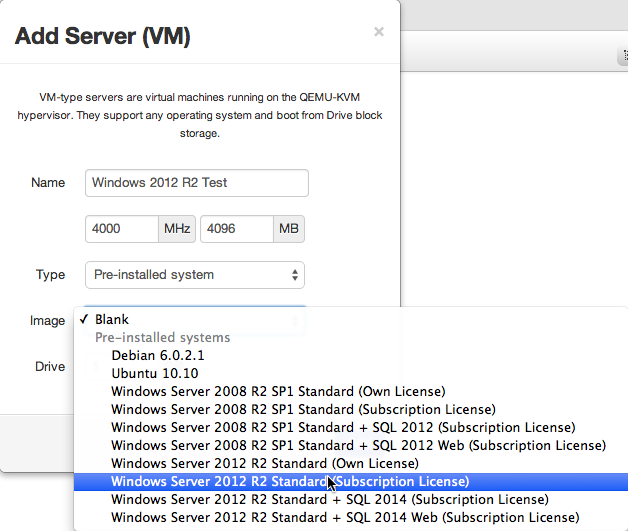
Give the Server a Name, CPU and Memory Allocation.
Select the Server Creation “Type” (Possible options here are Pre-Installed System, Self-Install from CD, Boot from Live CD, Boot from Existing Drive & Custom). Additional Details on these options can be found here.
We are going to leverage a Pre-Installed System, so set the Type accordingly.
Choose Windows Server 2012 R2 Standard (You can choose “Own License” if you plan to use your own Microsoft Licensing or “Subscription License” if you plan to Pay for the License monthly with Go2Cloud) from the Image list. (You will notice there are a number of Linux and Windows Images to choose from)
Set the Drive Size (13Gb is the minimum for a Windows Image, but we recommend at least 15Gb for now)
Click Add.
Your Server will now be created and your Pre-Installed drive will start imaging from our library (this will only take a few mins)
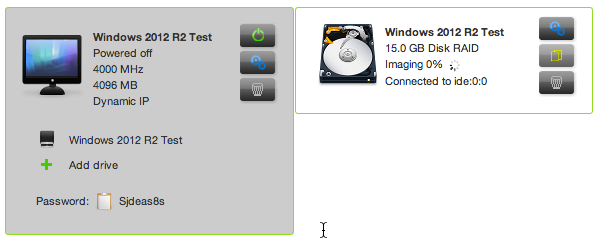
While you are waiting you can confirm the server settings are as you would like them.
Click on the Settings icon ![]() to access the settings page.
to access the settings page.
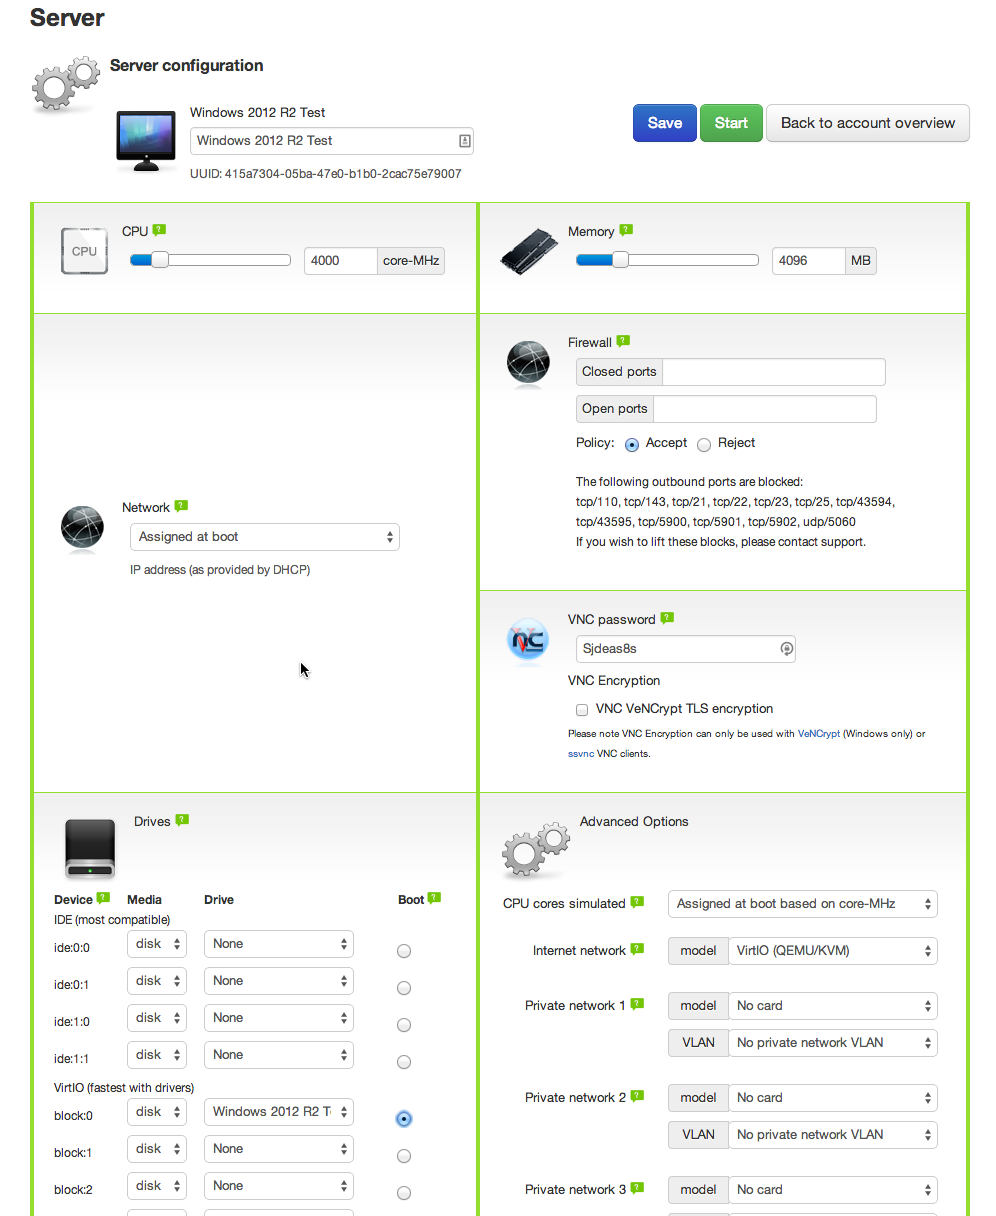
From the Settings Page, you can adjust the Resouces, add additional Drives and CD Images, Configure Networking and VLANs. (Please see the other tutorials for details on this options).
*We Recommend you adjust the Drive and the Internet Network to use VirtIO (as per the image above), as this generally provides the most optimal performance. (In the future this will be the default setting on the platform)
Click Save and then click Return to the Account Overview
Your Server imaging should now be complete, click the Power On icon ![]() to turn your server on.
to turn your server on.
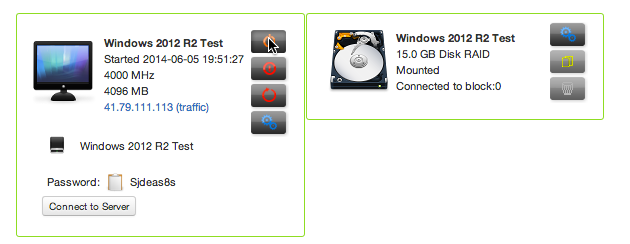
You can access your server in many ways, the easiest while you are initially setting it up is to either use your favourite VNC client or click the “Connect to Server” button for in Browser VNC access.
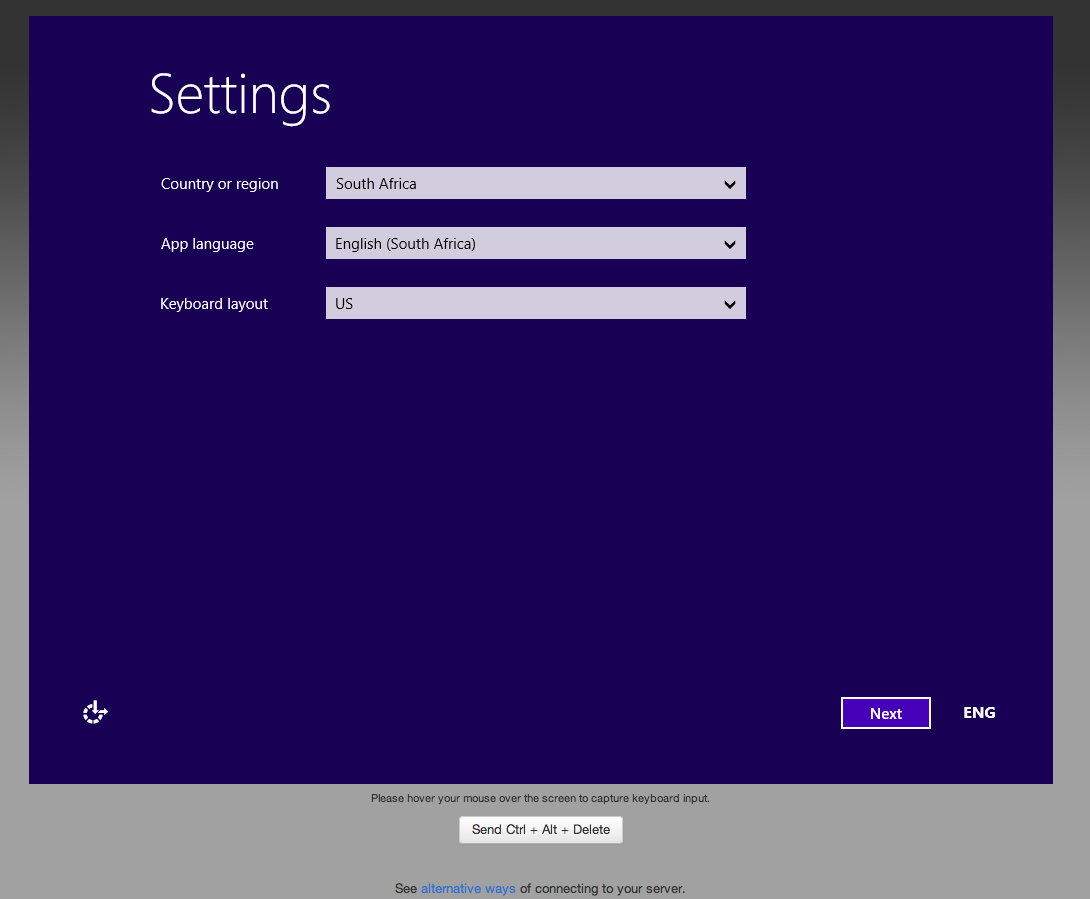
Complete the steps for the initial Windows configuration. You have then setup your first Windows Server.
Windows Remote Desktop (RDP) is enabled by Default, so once you have completed this initial setup we recommend that you connect using RDP instead of VNC for better visual performance. You can connect via VNC at any time to access the System Console and Boot screen.
Enjoy !!!!